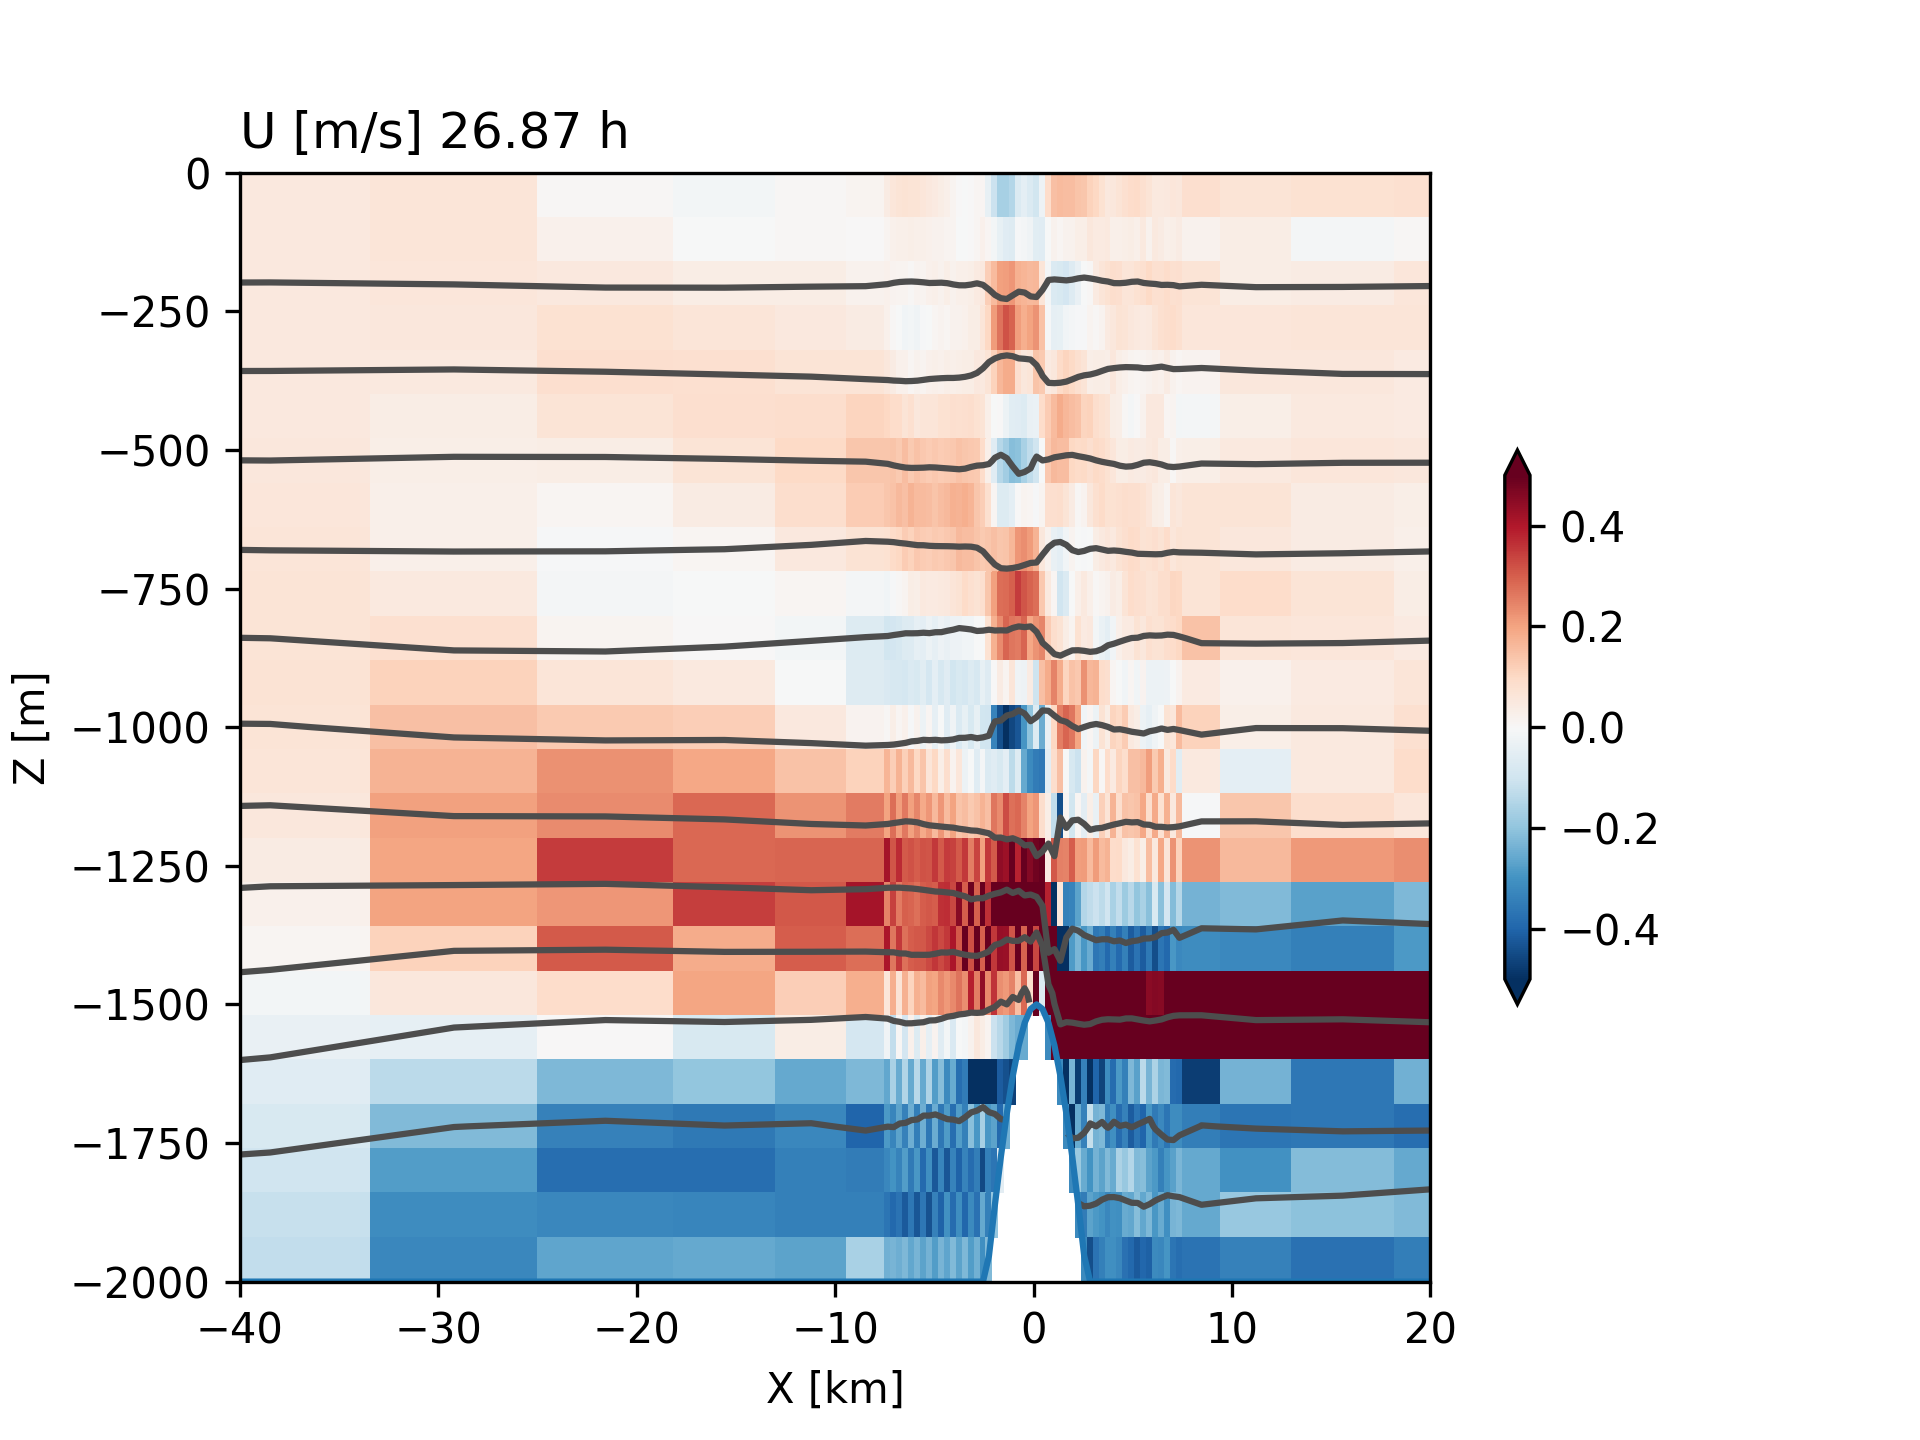
MITgcmExampleSteadyGauss
Example MITgcm setup for steady stratified flow over Gaussian Bump

./code/contains modified code./input/contains thedata*files and the python script to generate the data sets./build_options/contains the compiler flags for macOS 10.buildis a placeholder for where the gcm should be builtrunsis where you might keep model output.
Installing and running the code:
The MITgcm requires the openmpi compilers to run in parallel. These are often supplied on a supercluster, sometimes available via a module load command if they are not in the default environment. On a Mac, these compilers used to be challenging to install, but conda-forge now has recipes that will install these for you with minimal effort (you can also use brew, but that is less portable).
Using pixi
pixi is a more contained mamba/conda that I would recommend for analyzing data, and it works well for MITgcm work as well. Once you have installed pixi, you can download the requirements for the MITgcm and analysis using python by doing pixi install in the top directory of this repo.
If you really just want to check that everything is working, you can now just type pixi run all, and the following steps will run in order, as defined in ./pixi.toml:
pixi run downloadmitgcm: Grabs a recent MITgcm:git clone --depth 25 git@github.com:jklymak/MITgcm.gitpixi run configure: Runs the command that makes theMakefilefor compilation via:cd build && ../MITgcm/tools/genmake2 -optfile=../build_options/darwin_brewgfortranmpi -mods=../code/ -rootdir=../MITgcm -mpipixi run build: Compiles the model (may take a while) by callingcd build && make depend && make. If this works then there should be abuild/mitgcmuvfile created.pixi run preprun: Generates the data files that the model needs to run:cd input && python gendata.py. The model is setup inruns/RunFr1300/.pixi run run: Executes the model using MPI. Note you need at least 4 processors:cd runs/RunFr1300/input && mpirun -np 4 ../build/mitgcmuv. This will take a while to run, and create a bunch of files inruns/RunFr1300/input. If you aren’t sure if it is running check for new files there.pixi run analyze: Opens the jupyternotebookanalyisis/PlotRun.ipynb.
Note that when using pixi, you need to either get into the pixi shell to execute commands like make, or you need to do pixi run make to ensure the pixi environment is being used.
Similarly, when analyzing the data, make sure that pixi is being used as the “environment” or “kernel” in tools like Jupyter lab, or VSCode.
Manually:
If not using pixi, then you can replicate the steps above manually using conda/mamba
- See the
dependenciesfield inpixi.tomlfor what packages to install in your environment. - You may need to change
build_options/darwin_brewgfortranmpito point theINCLUDESflag at the location in your environment. - When you run the steps above, be sure to run them in the environment you created.
Compiling
’./build’ is where we compile the gcm. To compile you should run:
 /Users/jklymak/MITgcmc66h/MITgcm/tools/genmake2 \
  -optfile=../build_options/darwin_brewgfortranmpi -mods=../code/ \
   -rootdir=/Users/jklymak/MITgcmc66h/MITgcm
then make depend followed by make.
Running
Generate the data
In ./input, run python gendata.py.
Note that this writes many files in ../runs/RunFr1300. This is where
we will run the model from. Why do we move it? Because we often want
a number of runs that are similar, and this ensures reproducibility.
In addition to creating the files we need some plots are made into
../runs/RunFr1300/figs/ that are often useful to make sure we did
what we wanted, and the ‘./input’, ‘./code’, ‘./build_options’, and
‘./analysis’, directories are saved into this directory as well.
These essentially ensure that the model can be rerun even if the data
is removed.
Run the model
Now we can execute the model:
mpirun -np 4 ../../build/mitgcmuv
where -np 4 means we want 4 processors (as also specified in code/SIZE.h)
The results should be in ../runs/RunFr1300/ and if we used nf90io, then the data should be in ``statevars.nc and statevars2d.nc`.
Modifying to your own needs:
You probably don’t want to use the simulation provided, so now you need to do the work of creating your own simulation.
Changing domain size
- Change
code/SIZE.hand recompile. - If using open boundaries change
input/data.obcsi.e.OB_Jnorth=80*0,where in this caseny=80 - Check
data.diagnosticsfor the correct data being output for your purpose. - Change
input/gendata.pyand rerunpython gendata.py. It would be good practice to make a new name for the run at this point.
Changing other parameters
- Edit
gendata.py. For new runs it is best to change the value ofoutdirright away so you don’t overwrite your old runs.